Monday, November 12, 2012
Wednesday, November 07, 2012
Restoration Part 8: Bandai HG 1/100 Gundam D-Hell Custom
Here is my update for the painting of D-Hell.
Tuesday, November 06, 2012
Restoration Part 7: Bandai HG 1/100 Gundam D-Hell Custom
I didn't have a chance to paint for today since I was working on some documents this morning when it was sunny. Then after I have done the paper works, the rain suddenly pours down. Just to make my day productive on my projects, I have done the finalization on the mods I'll be doing to the D-Hell wings.
![]() |
First, I added extension on the pegs for the inner wing parts. I used some thick extra runners, I think it is from MG Lukas. |
![]() |
Next, I cut the original wing connector for the back to make these things. I also used some plastic plates for the top cover. I trimmed some runners to make those custom pegs. |
Monday, November 05, 2012
Restoration Part 6: Bandai HG 1/100 Gundam D-Hell Custom
After 3 days of unstable weather. I am glad that at least I did finished some parts of D-Hell. Most of the parts I am working is just the upper arm, body and waist unit. Since it is already locked in place I can't paint it by piece anymore so I have been masking it 2-3 times for different colors application.
Friday, November 02, 2012
Restoration Part 5: Bandai HG 1/100 Gundam D-Hell Custom
Part 1 | Part 2 | Part 3 | Part 4 | Part 6 | Part 7 | Part 8 | Part 9 | Part 10 |
After visiting in the Cemetery, I rushed home just to continue my project. Sadly, my painted parts were not dried under the sun because after I finished painting rain instantly pours down.
![]() |
All of the parts I painted are those who I masked last night. |
![]() |
Used Flat Black and Signal Red. |
Thursday, November 01, 2012
Restoration Part 4: Bandai HG 1/100 Gundam D-Hell Custom
Sorry for the late post. I was supposed to finish the Shenlong WIP today but sadly, the store I always go don't have stock for the Flat Clear. Instead, I bought the paints I'll be needing for the D-Hell Restoration. So far here are what I have done today.
![]() |
Some parts are with masking. |
![]() |
Used Primer Gray. |
Tuesday, October 30, 2012
WIP Part 13: Bandai MG 1/100 Shenlong Gundam EW: Decals Applied
Part 1 | Part 2 | Part 3 | Part 4 | Part 5 | Part 6 | Part 7 | Part 8 | Part 9 | Part 10 | Part 11 | Part 12 |
Just finished applying the decal markings.
![]() |
Legs unit |
WIP Part 12: Bandai MG 1/100 Shenlong Gundam EW: Weathering Part 2
Part 1 | Part 2 | Part 3 | Part 4 | Part 5 | Part 6 | Part 7 | Part 8 | Part 9 | Part 10 | Part 11 | Part 13 |
Last night I already finished weathering all the parts. I also added panel lines to those parts I missed on the enamel wash.
![]() |
The tweezers helps me hold the parts easily without touching the part. It prevents me from removing the weathering I already applied. |
![]() |
Head unit |
Sunday, October 28, 2012
WIP Part 11: Bandai MG 1/100 Shenlong Gundam EW: Enamel Wash
Restoration Part 3: Bandai HG 1/100 Gundam D-Hell Custom
How I remove seam lines on model kits
Prior to my update on my HG 1/100 Gundam D-Hell Custom. Here is my tutorial on how I remove seam lines on model kits.
![]() |
You'll be needing these things. Plastic Cement | Hobby Knife | Sanding Paper | Part that you will remove seam lines. |
![]() |
First, you have to examine the parts whether which portion you will not need to apply the plastic cement. |
Saturday, October 27, 2012
WIP Part 10: Bandai MG 1/100 Shenlong Gundam EW: Gloss Coating
Part 1 | Part 2 | Part 3 | Part 4 | Part 5 | Part 6 | Part 7 | Part 8 | Part 9 | Part 11 | Part 12 | Part 13 |
Finally the Sun showed up. I didn't waist the time, upon waking up I already prepared the things I need and the parts I will be gloss coating. My old Styrofoam is already full of holes so I made a new tray for my skewers to put on. I used old boxes and cut them with same sizes and glued so it will be firm and solid together. I saw this idea from one of our admins from Gunpla Meisters Philippines.
![]() |
Leg + Arm + Shield armor parts |
Restoration Part 2: Bandai HG 1/100 Gundam D-Hell Custom
Last night I already disassembled the parts. I had a hard time disassembling it and I even accidentally cut through my fingers with my hobby knife. It was bad since a lot of blood was lost, I can't even stop the bleeding then I did suck it and after a few minutes it made me dizzy which result me to stop and rest for a while. It feels like I am going to collapse that time, my vision looks blurry and dark. Gladly, after 30 minutes of lying down on the bed I constantly recovered from it. Then I continued my work till I finished disassembling the work kit.
![]() |
Legs unit |
![]() |
Arms unit |
Friday, October 26, 2012
Restoration Part 1: Bandai HG 1/100 Gundam D-Hell Custom
Hi guys, sorry for the long stop. It has been a week since my last post on the MG Shenlong Gundam WIP, but it seems I need to stop on that project for awhile because of the bad weather the typhoon has brought to the Philippines. For now here is what I have been doing. If you remembered back from my posts, my friend gave this to me, HG 1/100 Gundam D-Hell Custom. I am currently doing sample color scheme for this project. I might do a lot of different color schemes for a better choice.
![]() |
Everything are loose and I can't barely make him stand properly. The scythe is broken in the middle of the handle. |
![]() |
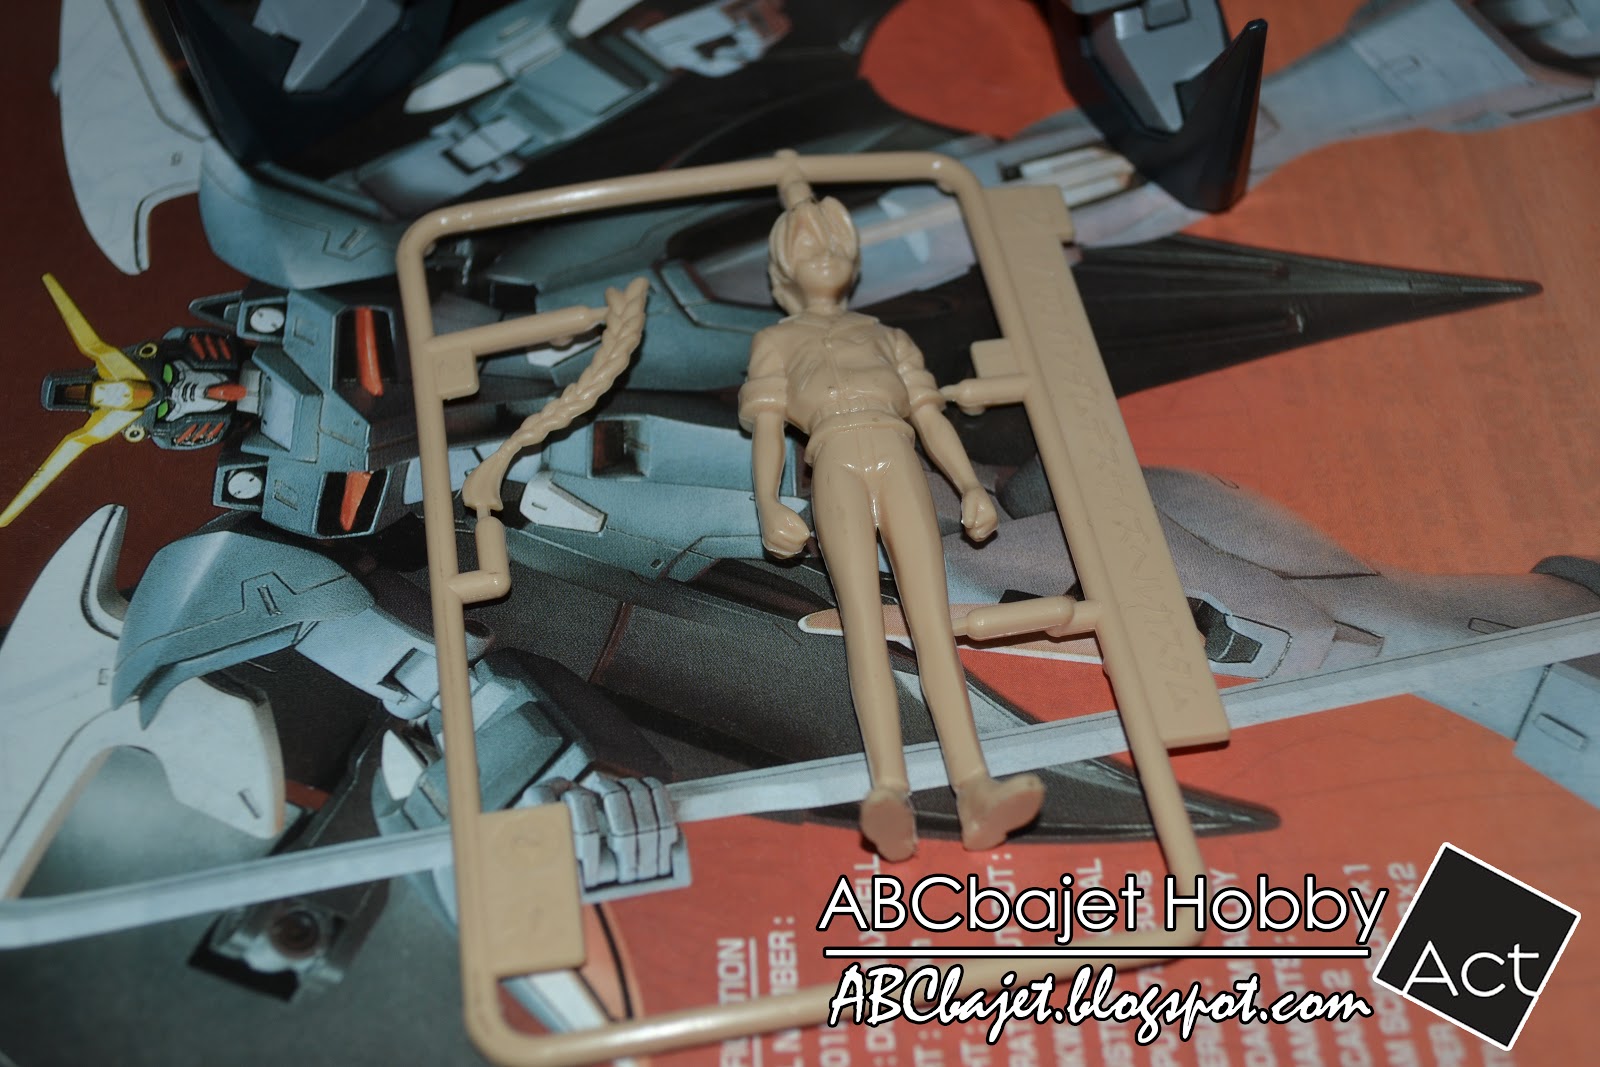
My friend also included the 1/20 Scale Duo Maxwell figure and the manual as well. |
As long as the weather is not stable, I will not proceed on the MG Shenlong Gundam WIP and instead I will be focusing on the restoration of this HG 1/100 Gundam D-Hell Custom. That's it for now. Stay tuned for more of this restoration. Thanks for your time.
Thursday, October 18, 2012
WIP Part 9: Bandai MG 1/100 Shenlong Gundam EW: Weathering Part 1
Part 1 | Part 2 | Part 3 | Part 4 | Part 5 | Part 6 | Part 7 | Part 8 | Part 10 | Part 11 | Part 12 | Part 13 |
As I have said on my recent post this morning, here are the parts that I don't have to apply gloss coat for the enamel wash. I used my Tamiya Weathering Master Set C. Gundam Metal on the White/Red/Yellow parts and Orange Rust on the Blue/Gray parts.
![]() |
Waist unit |
WIP Part 8: Bandai MG 1/100 Shenlong Gundam EW: Armor Parts Preparation
Part 1 | Part 2 | Part 3 | Part 4 | Part 5 | Part 6 | Part 7 | Part 9 | Part 10 | Part 11 | Part 12 | Part 13 |
Last night I already cut down the armor parts as preparation for the gloss coating because I'll be doing the enamel wash for this kit. Before, I have tried enamel washing without gloss coat but I had a bit of problem since the wash gets messy and it runs randomly on the panel lines. Since I'll be using an ordinary lighter fluid, it might damage the plastic so I really need to gloss coat it first before doing the wash. Here are the parts cut down from the runners.
![]() |
Body unit |
Wednesday, October 17, 2012
WIP Part 7: Bandai MG 1/100 Shenlong Gundam EW: Inner Frames Detailing
Tuesday, October 16, 2012
WIP Part 6: Bandai MG 1/100 Shenlong Gundam EW: Inner Frames Dry Brushing
Part 1 | Part 2 | Part 3 | Part 4 | Part 5 | Part 7 | Part 8 | Part 9 | Part 10 | Part 11 | Part 12 | Part 13 |
Just finished working on the Dry brushing for the inner frames. I love doing this technique specially on the inner frames. I like the looks on the results when using this technique. I used Tamiya X-11 Chrome Silver for the dry brushing.
![]() |
Body unit |
Monday, October 15, 2012
Gunpla Builders World Cup 2012 Philippines
Venue: Mall Main Atrium Robinsons Magnolia
Address: Aurora Blvd., Quezon City, Philippines
Date: October 11-14, 2012
Judging: October 13, 2012, 2:00 PM
Awarding: October 14, 2012, 4:30PM
Criteria for Judging:
Painting skill, line paint and body decoration - 100
Modification, usage of other parts and remodeling - 100
Creativity, originality (Color, Pose & Concept) Total look of Diorama - 100
Total of 300
Open Category
Champion
Modeler: Aristeo Lamig Saavedra Jr.
2nd Place
Modeler: Angelo Guibone
Subscribe to:
Posts (Atom)