


Prior to what I have done yesterday, I have let my sister take some photos while I am working on the Waterslide Decal application so I can post something like a tutorial on How I apply Gundam Waterslide Decals.
 |
| Here are the materials you will need. |
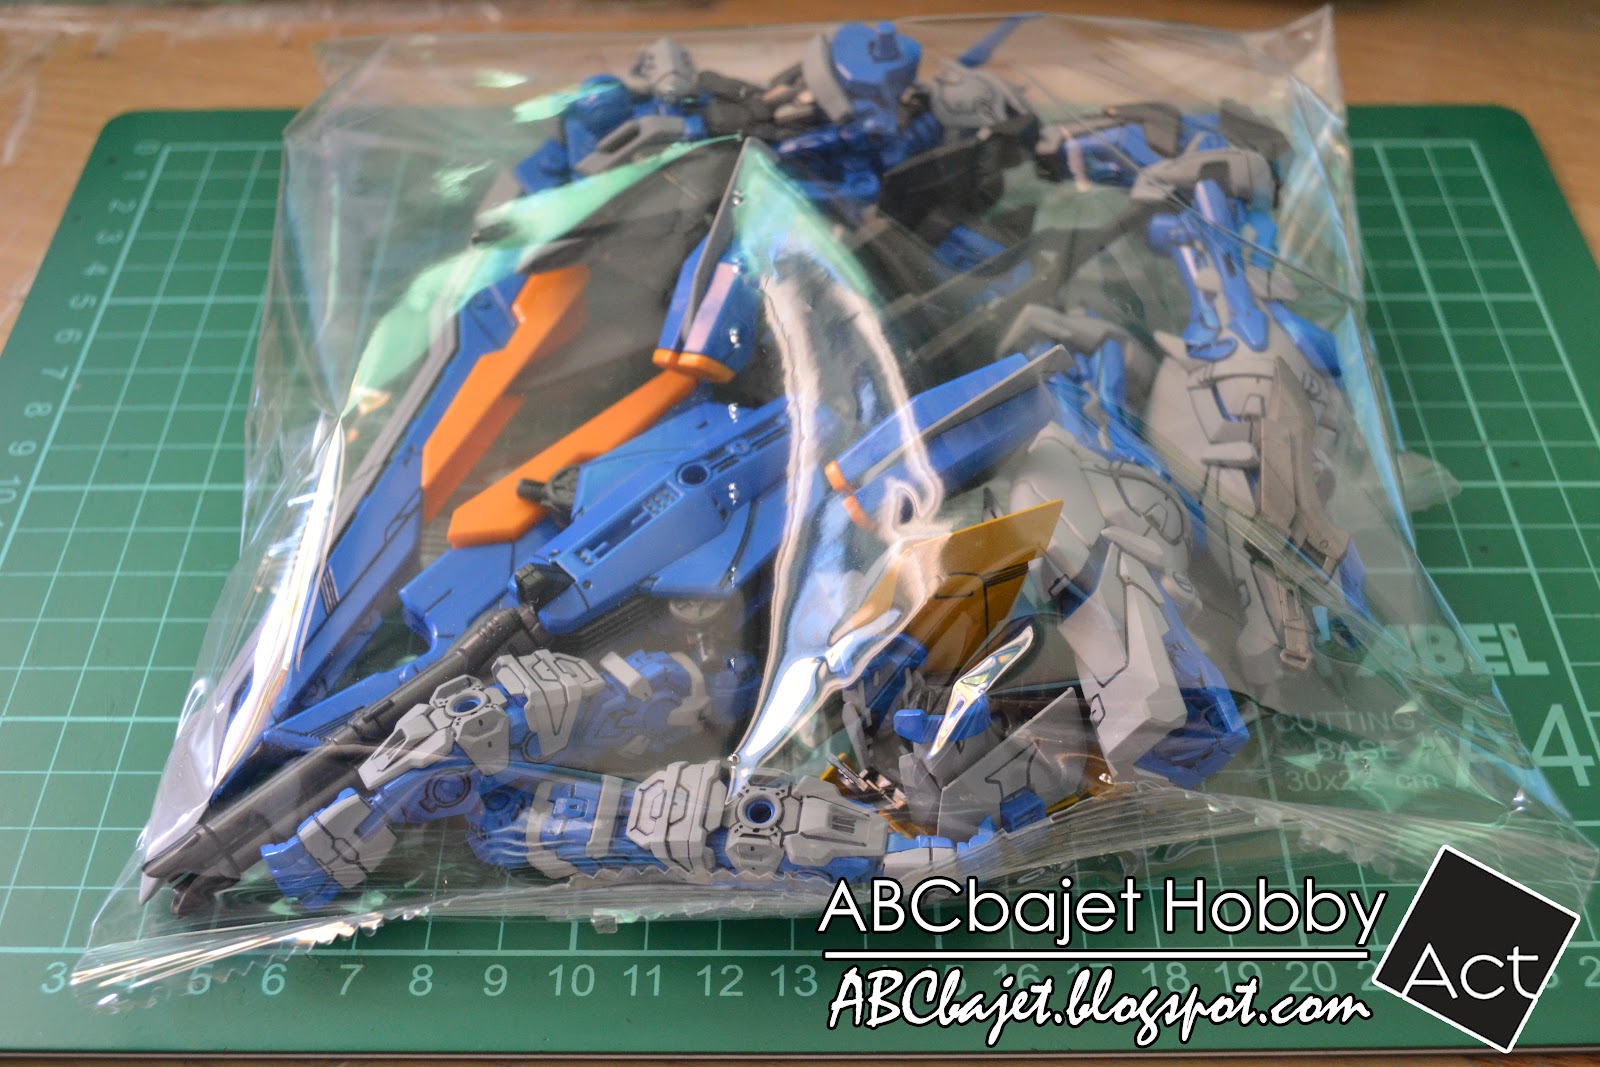 |
| Parts that you will apply the decals. |
 |
| Decal instruction manual. |
 |
| Waterslide Decals |
 |
| Mr. Mark Setter |
 |
| Mr. Mark Softer |
 |
| Tweezers: for better handling |
 |
| Cotton swabs: for moving the decals to its position |
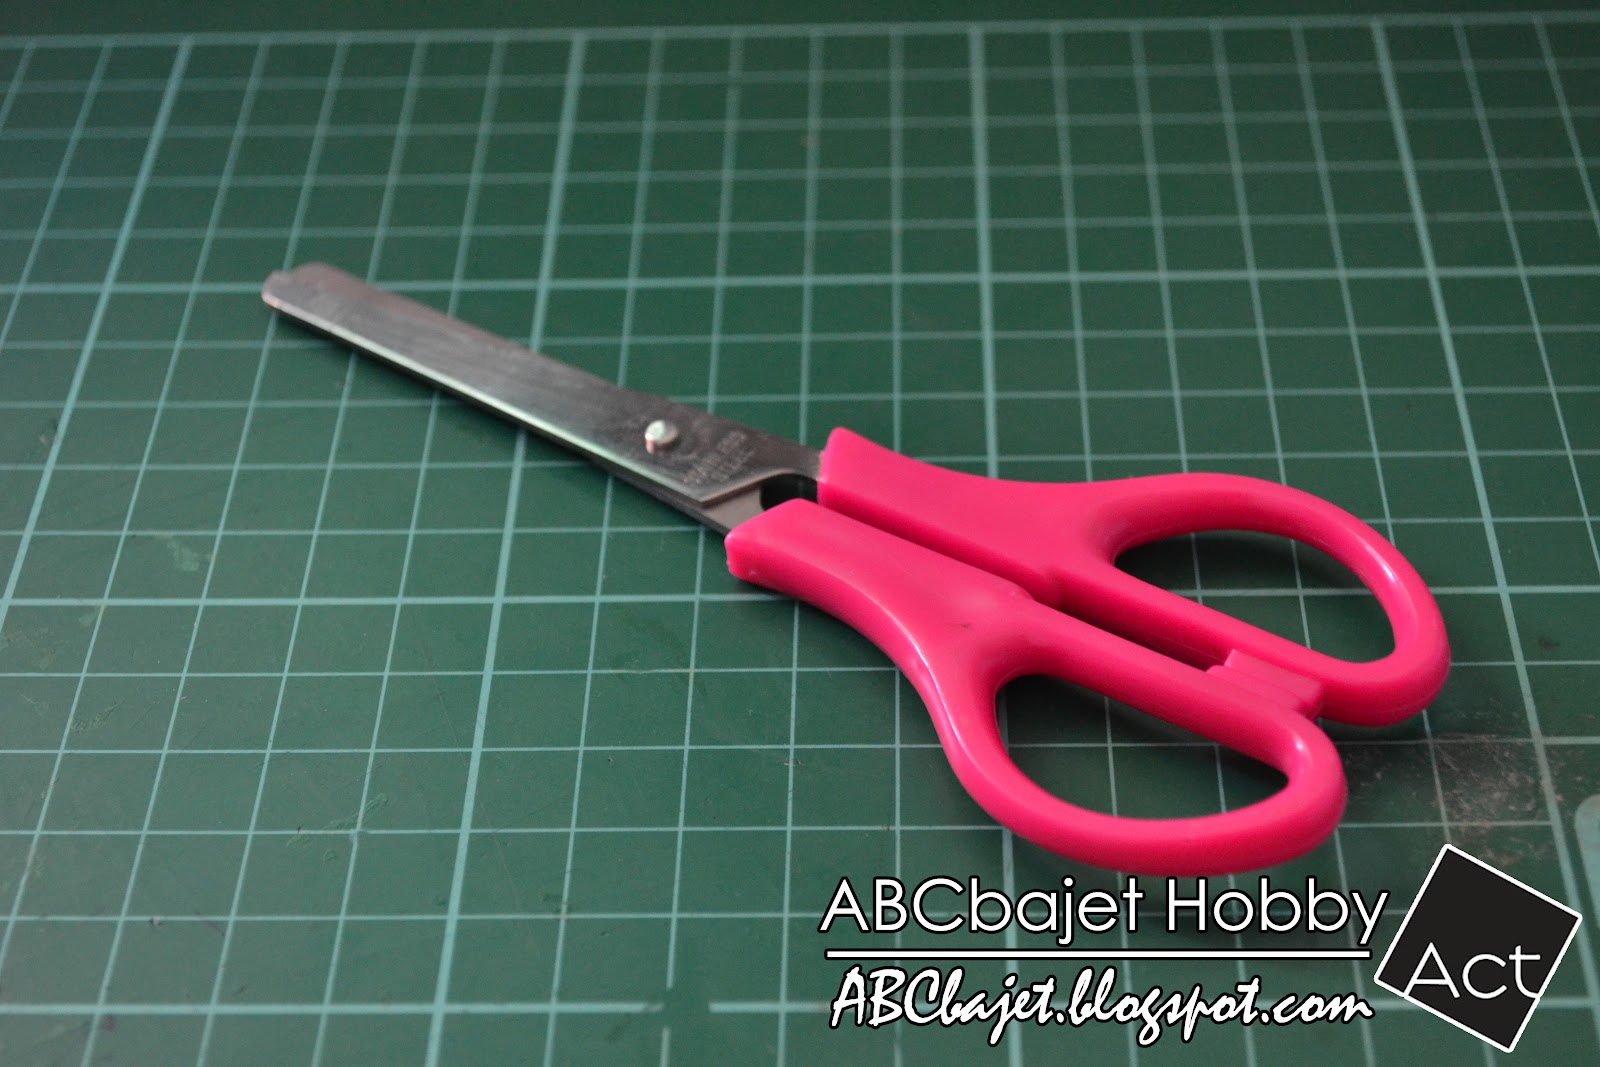 |
| Scissors: for cutting the decals. You can also use your hobby knife. |
 |
| Clean Water |
 |
| First is to cut off the decal that you will need to apply. |
 |
| After cutting off the decal, soak it on the clean water. |
 |
| This time you can apply the Mr. Mark Setter while your decal is still soaked in the water. |
 |
| By using the cotton swabs, slowly pull off the decal from the paper backing. |
 |
| Now you can fix the position of the decal and remove the excess water. |
 |
| Next step is to apply the Mr. Mark Softer for better adhesive on the decal. |
 |
| You can again fix the position of the decal before removing the excess water. |
 |
| Set it aside for curing and you are finished. |
Applying waterslide decal is fun. Just be cautious because the decal is so thin you can easily rip it off if you apply to much force on it. If you feel the decal is already sticking and it is too hard to move, you can dip your cotton swab on the water and slowly rub it to the surface to make the decal loosen where you can move it again. Don't apply too much Mr. Mark Softer because it will make your decal stick on the part fast and you might rip it off if you try to move it. Make sure to position the decal first before applying Mr. Mark Softer. That's it for now. Thanks for you time.
No comments:
Post a Comment